主要分为两大步骤,包括准备UI及Baas.php资源和配置站点信息,下面来分别介绍。
WeX5_V3.4-runtime-Windows(for java, php, .net)下载地址:http://pan.baidu.com/s/1i4P339r
一、准备UI及Baas.php资源
1- UI资源准备
通过在Native下编译UI资源,可以获得要发布的静态文件。
下图以外卖案例为示意进行说明

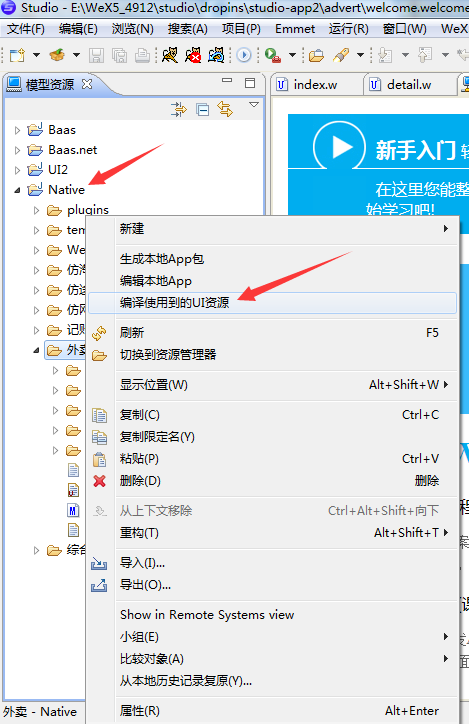
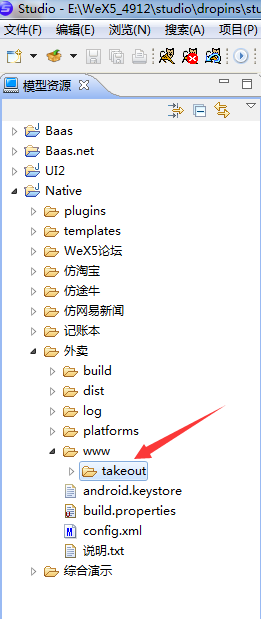
UI编译后会在www目录下生成所需的UI资源。

2- 准备Baas.php资源
Baas.php资源在{WeX5/BeX5根目录}\model\Baas.php目录下。
包括系统公共文件及用户自定义文件两部分:
Baas.php目录下公共文件为:
common文件夹;
config文件夹;
lock 文件夹;
及其下面的文件 都是公共文件。
其他为用户自定义的文件。
二、配置站点信息并部署
1-配置站点信息
nginx配置文件为\nginx\conf\nginx.conf,设定第60行-72行相关参数即可。
server {
listen       8081;
server_name  localhost;
#charset koi8-r;
#access_log  logs/host.access.log  main;
#指定站点路径
root   "E:/WeX5-runtime-php/www";
#下面三行为转发路径设置,供开发调试时使用,部署时要注释掉
#location / {
#    proxy_pass   http://127.0.0.1:8080;
#}
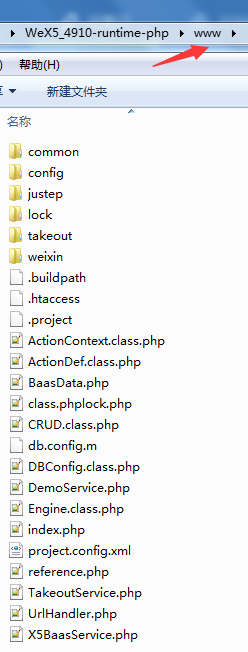
2- 进行UI及Baas.php资源部署
上述配置文件中已设置{runtime根目录}\www为站点目录,将第一步准备好的UI及Baas.php资源分别拷贝到站点目录即可。
部署后请参照下图文件结构:

三、启动相关服务
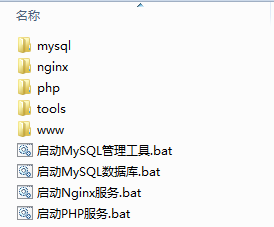
1- 启动服务
分别点击.bat启动相关服务“启动Nginx服务.bat”,“启动PHP服务.bat”,“启动MySQL数据库.bat”;

提示:
启动Nginx服务时,如遇以下提示为正常情况,可忽略相关警告。


2- 测试验证
以上步骤完成后可在浏览器中输入 http://localhost:8081/takeout 进行验证配置结果。
阿里云web php服务器,手机上一直显示这个错误cannut read property’userdata’ of undefined,请高手指点